


When I started Euro nymphing, Contact nymphing, Czech nymphing, whatever you want to call it, I was confused as to what gear I would need and why it was different from what I already had. As I became familiar with the new techniques I realized why it required different gear. I’m going to share what I’ve learned so you can avoid some of the mistakes I made early on. I’ll save you some frustration and maybe even save you some money.
*Keep in mind that my advice is based solely on wade fishing in technical high sierra rivers and streams for trout- It doesn’t pertain to stillwater, drift boats, steelhead or other large fish. Just river trout. OK?
GEAR (Rod/Reel/Line/Flies):
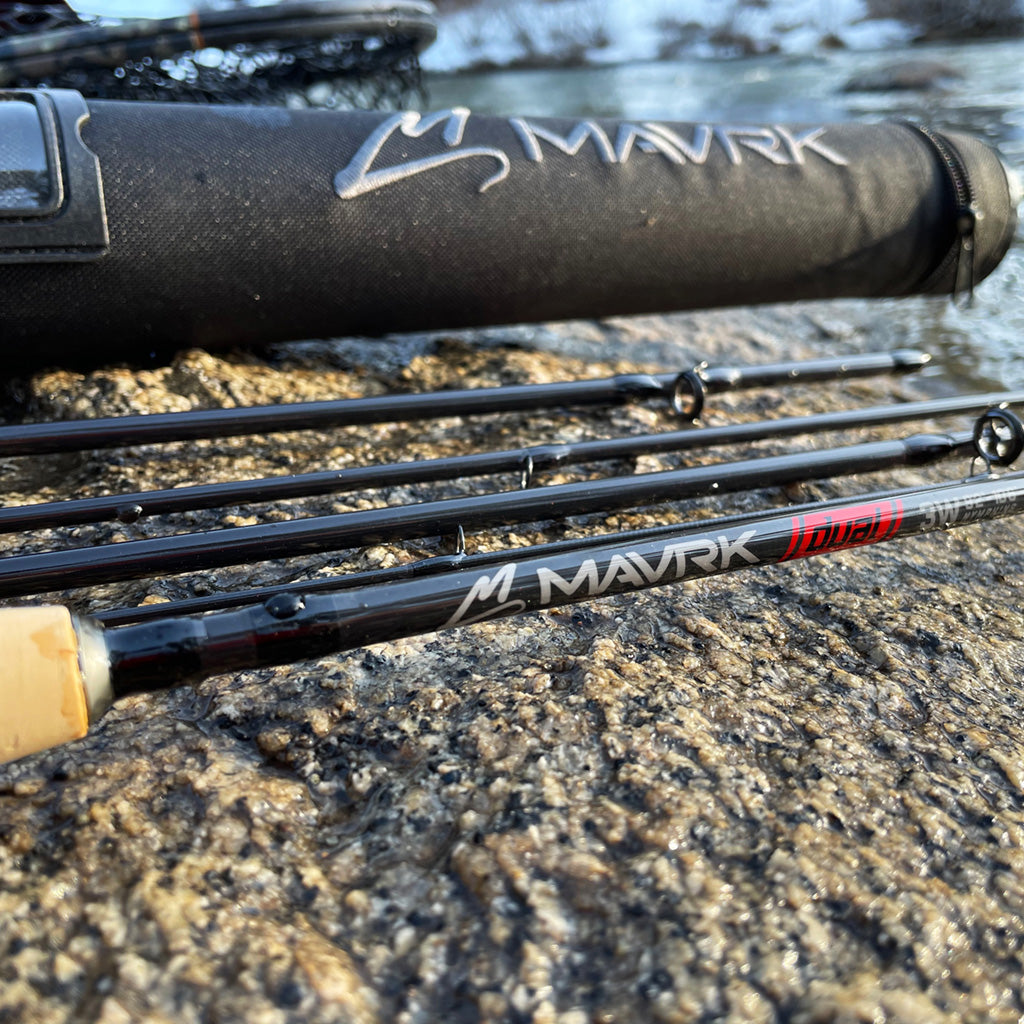
ROD
My first euro nymph set up was using my old trusty 5 wt trout rod. Not good. This rod was made to cast floating line not lightweight euro nymphing line. It was also too short and the action was all wrong. Euro nymphing is about suspending light fly line above the water surface. Longer rods help with this.
The nymph flies are typically weighted to get down to the fish. The weighted fly also helps load the rod when casting because you don’t have a heavy floating line to cast.
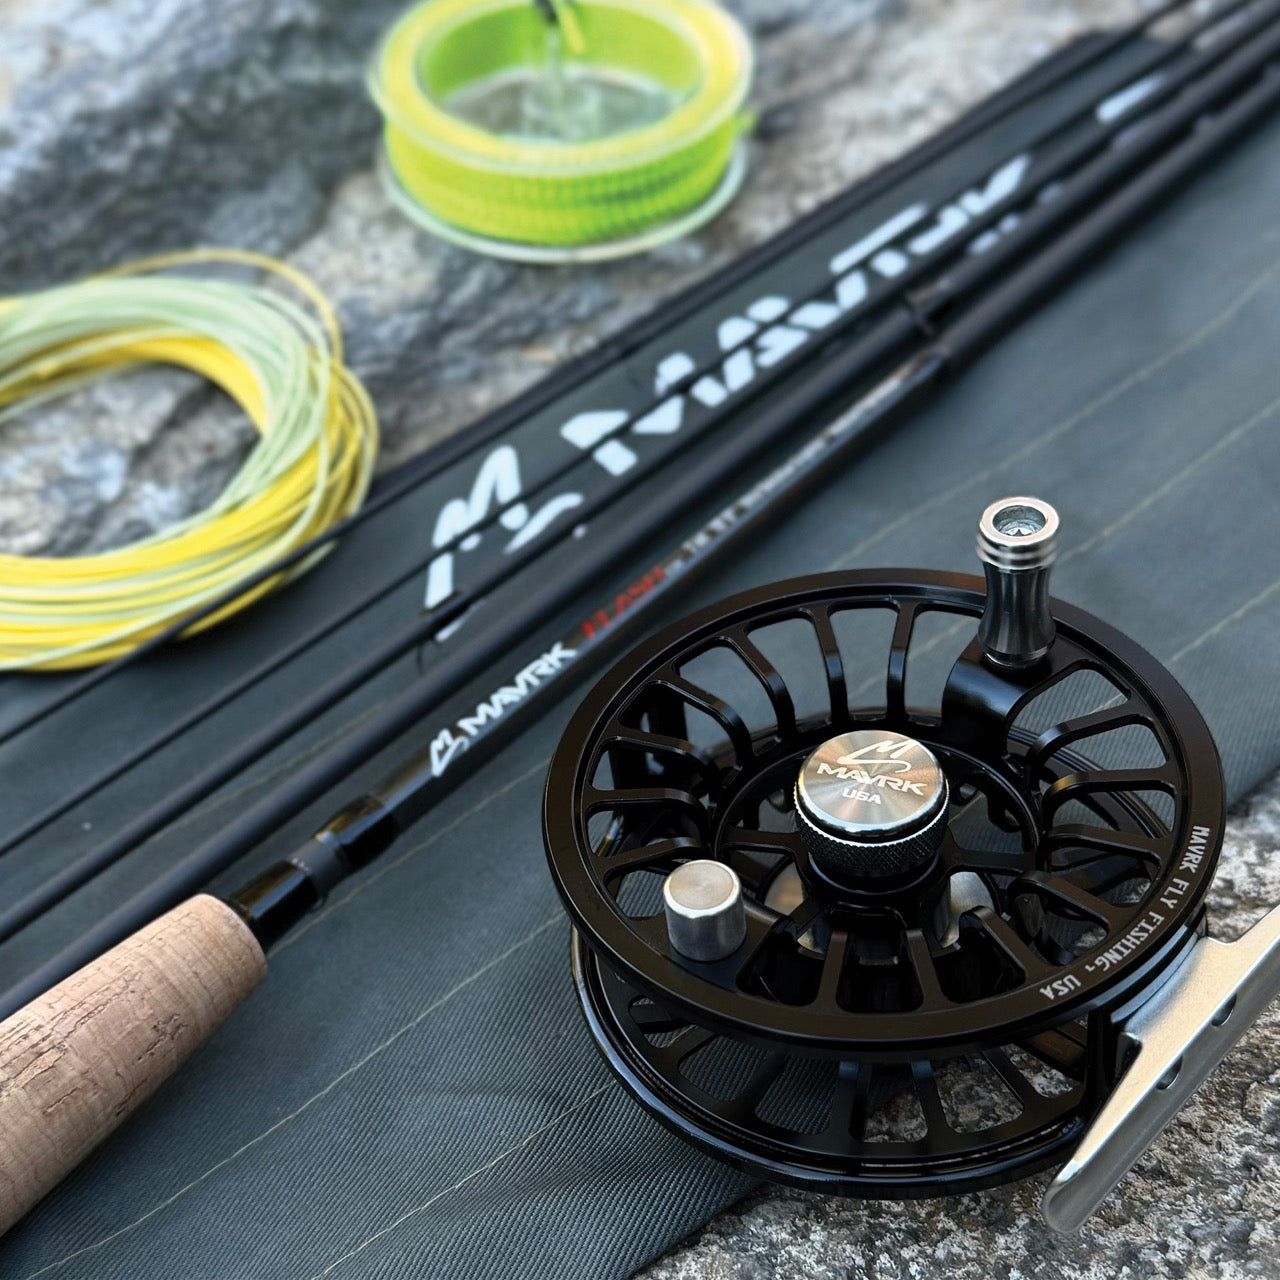
Here’s what I recommend: For most trout nymphing I’ve found that a 3 weight euro rod in length of 10’ to 10’ 6” is the best all around rod. This rod will have a soft enough tip to effectively cast small weighted flies (1.5 mm beads) or big bomber flies with 4.5 mm bead heads. The mid and butt section of a euro rod is stout enough to haul in pretty big fish and the extra length lets you cover a lot of water from where you are standing. But if your rod is too long, it becomes hard to manage. 10’ to 10’-6” is the range that I like best. BTW- Long rods work great on small streams too as long as you have the head room and the skills to cast it.
- I don’t recommend a 4 or 5 weight Euro rod for normal size flies/fish. The rod bend needed to cast a small bead head fly is easier to achieve with a 2/3 weight rod. 4/5 weight rods will kill your shoulder trying to get enough rod speed(bend) to cast small ESN flies. 4/5 weights are also heavier so your dead drift distance will be compromised as you start to drop your shoulder. Keep it light, keep it high.
*This is the Rod I use: https://www.mavrkusa.com/collections/rods/products/dual-3wt-nymphing-rod
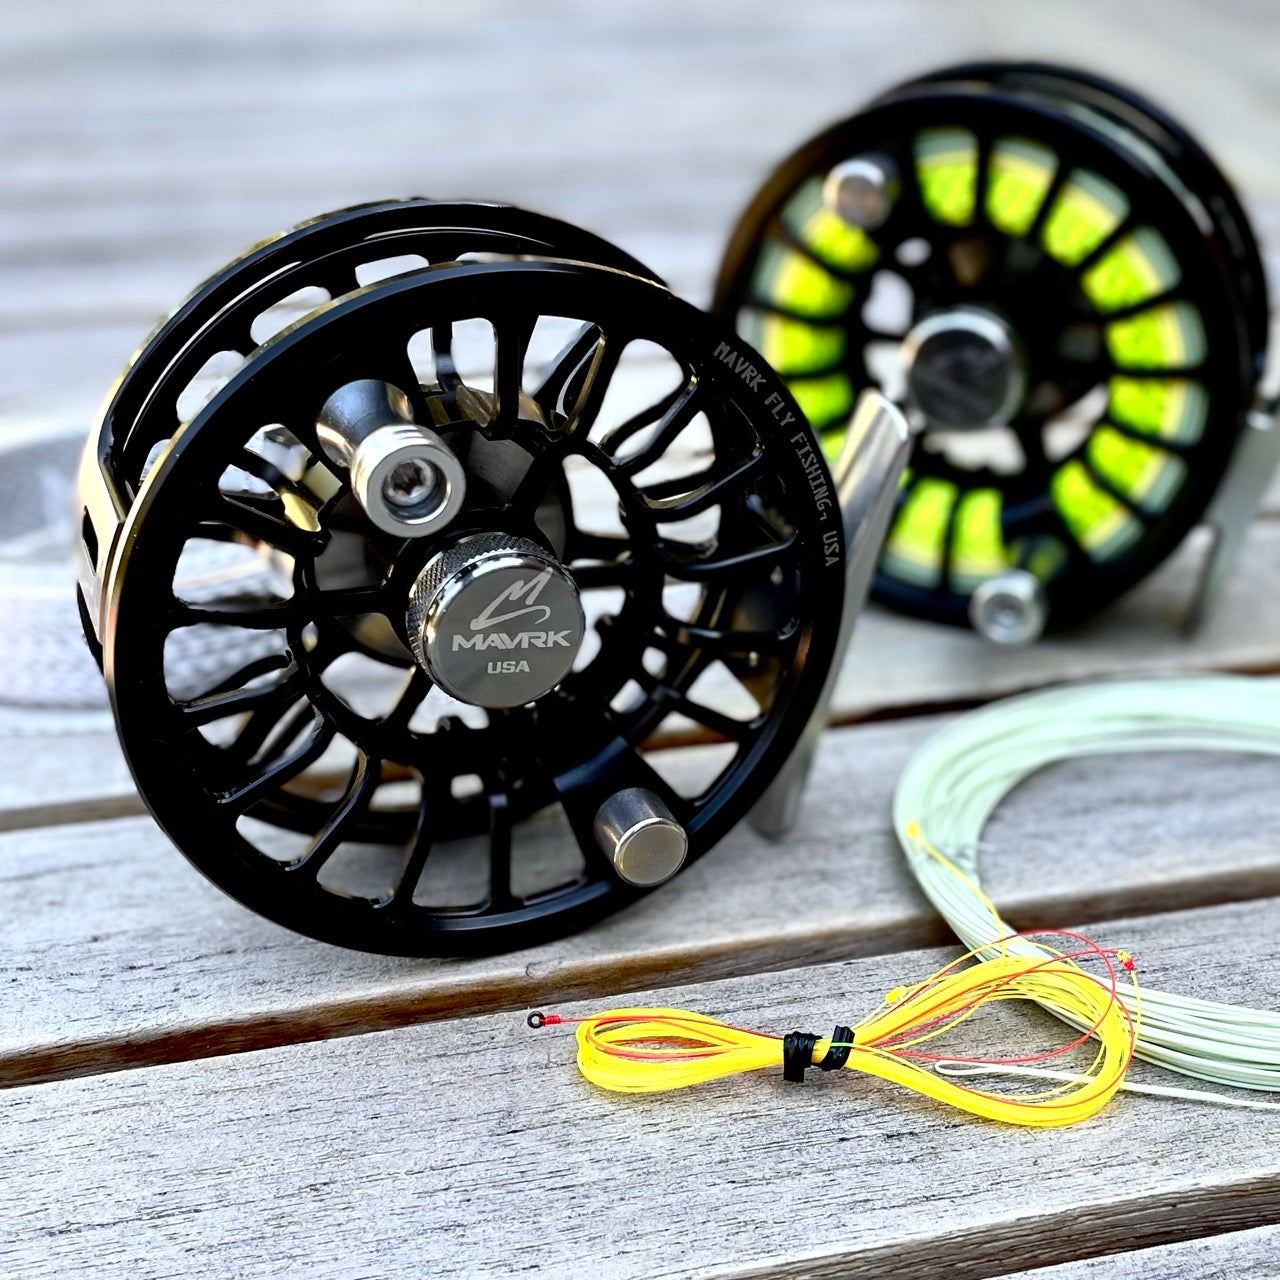
REEL
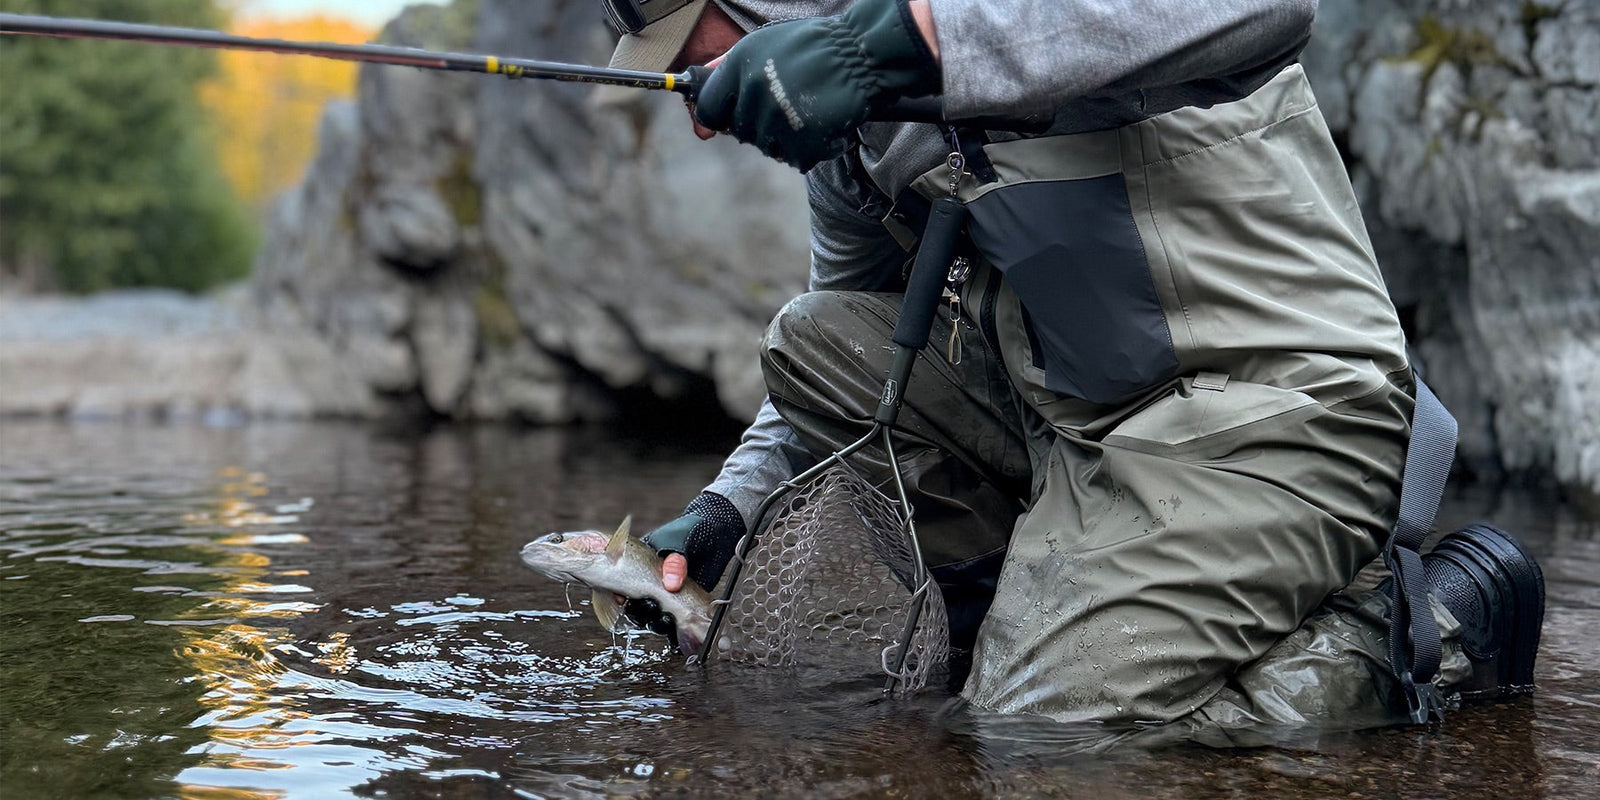
The reel is just a line older when fishing for most trout. You don’t need drag and you won’t reel in a fish like spin fishing when we were kids. Instead, you’ll hand strip the fish to your net. You’ll lose less fish this way and have more fun.
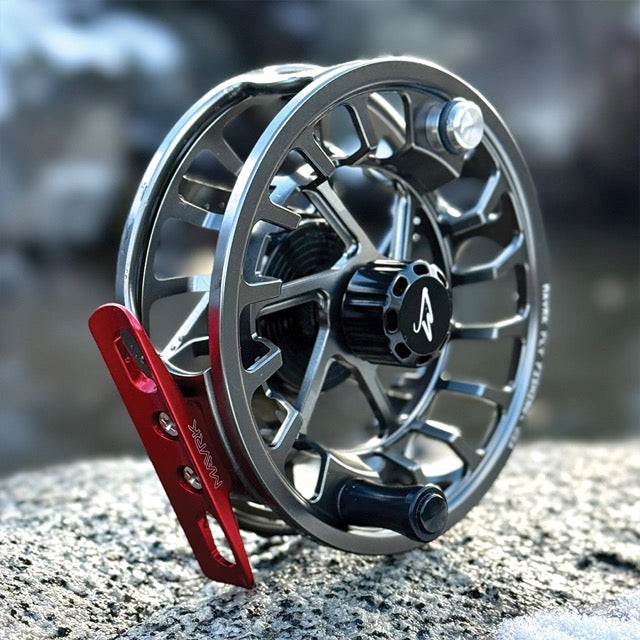
In my opinion, the best reel for euro nymphing is the lightest reel you can find. The technique calls for elevating the line off the water for long periods of time. The better your reach, the better your dead drift, more fish you’ll catch.
- Don’t buy a heavy reel. But what about “Balance?” Your burning shoulder doesn’t care about balance. Use a light reel that you can elevate for long periods of time.
- Don’t buy a noisy reel. Fish can hear those loud click and pawl reels a mile away.
- Light reels unfortunately have small arbors and are very slow to retrieve line.
*I use a Stinger reel. It’s only 1.5 ounces. Most reels are 5 to 7 ounces. https://www.mavrkusa.com/collections/stinger
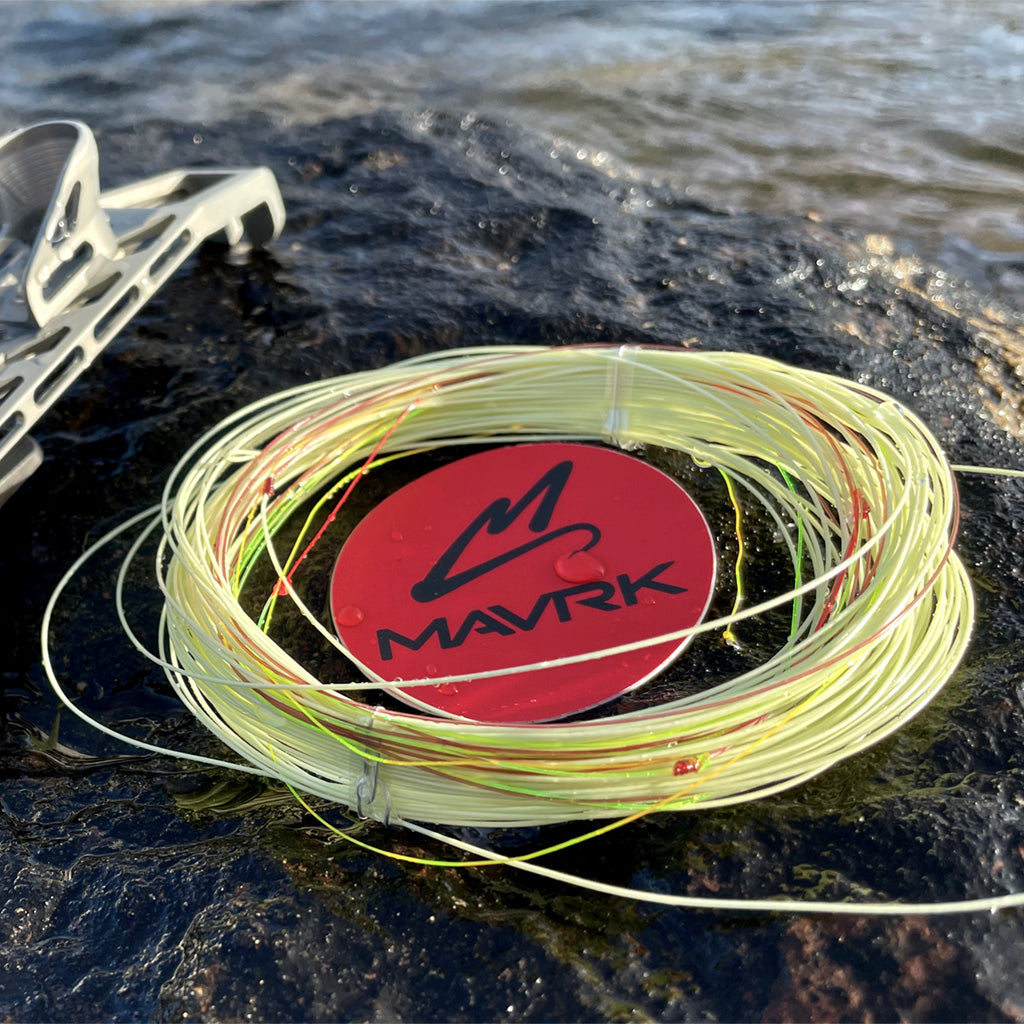
FLY LINE
Buy a thin and light euro nymph specific fly line. Don’t worry about the length; you'll only be using about 40 feet max on your longest cast.
Don’t use a monofilament line as your fly line. Mono is not braided or rubber coated so handling the line when playing a fish is difficult. It’s also translucent so it’s hard to see.
TAPERED LEADER SYSTEM
Leader is personal preference, but here’s how to build a basic ESN leader. Starting from the fly line:
- Attach your fly line to your leader butt section: Cut off the welded loop that comes on your fly line and use a Nail knot to connect the first section of the leader butt section ( 4 ft. 12 to 15 lb monofilament. I use Maxima or Amnesia for it’s low memory- less coils.
- Attach the leader mid section ( 4 ft. 10 to 12 lb monofilament) using a blood knot.
- Attach the leader sighter line section ( 2 ft. 1X or 0X mono) using a blood knot. Amnesia high vis green, red, or any bright colored sighter line.
- Attach a 2.5mm tippet ring using a Clinch knot.
- Attach a 3X or 4X Fluorocarbon tippet section to the tippet ring with a Clinch knot (about 3 feet). Tippet is the only line that is in the water when ESN fishing.
- Attach 2mm tippet ring using a Clinch knot.
- Attach a 4X or 5X Fluorocarbon tippet section to the tippet ring using a Clinch knot.
- Connect flies using a clinch knot, or another 3’ of 5X tippet section (deeper water) using a Triple surgeon's knot. The attach fly to the end.
The last 4 or 5X Tippet section will get shorter or broken off many times throughout the day. Continue to replace this section as needed.
*I always carry an two spools of the same size tippet for when I run out. Seaguar 4lb and 6lb Fluorocarbon is my go to Tippet. I buy it in large spools and reload my smaller spools that I carry on the river. You’ll burn through a lot of this.
(6lb = 4X, 4lb = 5X)
*This is the line/leader I use: https://www.mavrkusa.com/collections/accessories/products/tracer-62-nymphing-line-leader
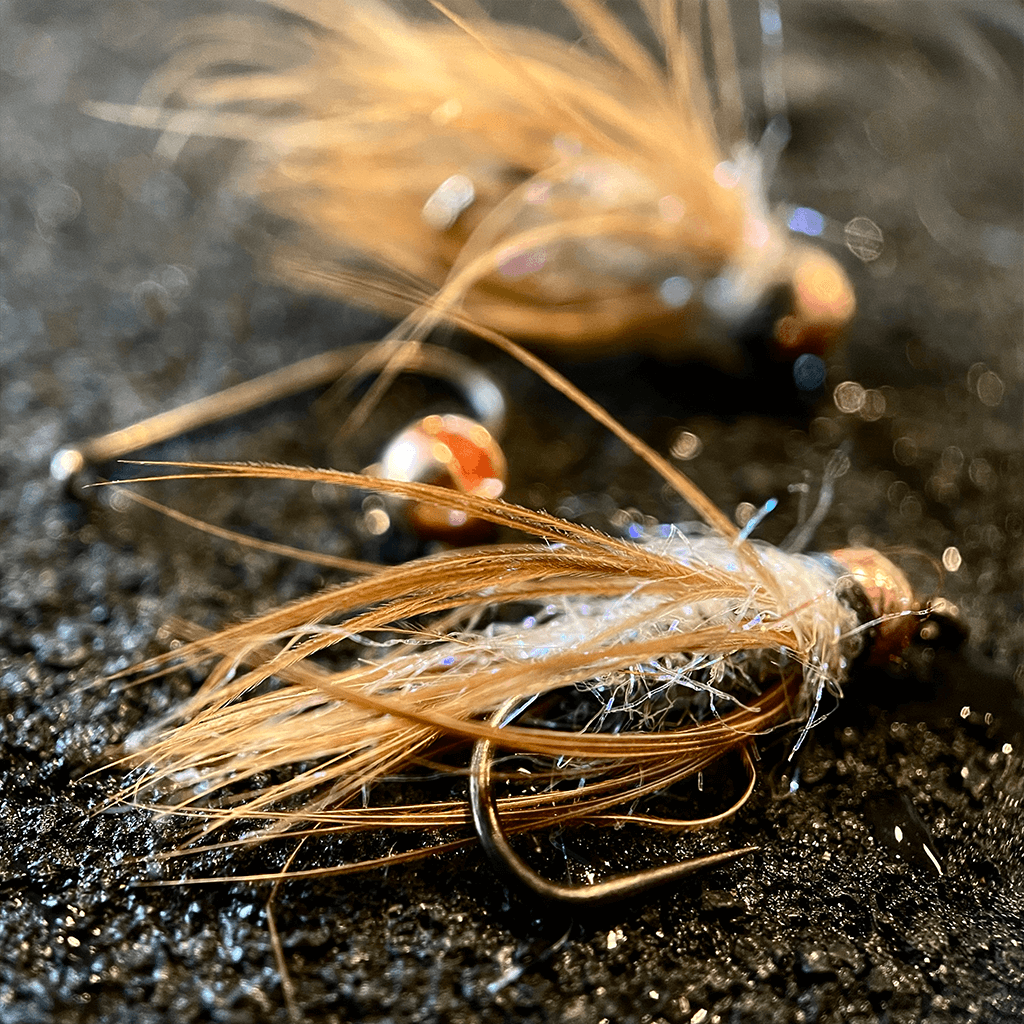
Don’t worry about what flies will match what bug hatches at first. Instead, buy/tie flies that you can get in front of the fish. Depending on your water type, this is what you will need:
- Bald/thin flies: They sink fast.
- Bushy flies: The sink is slower and look buggy.
- Have the above flies with bright colored hot spots and some without.
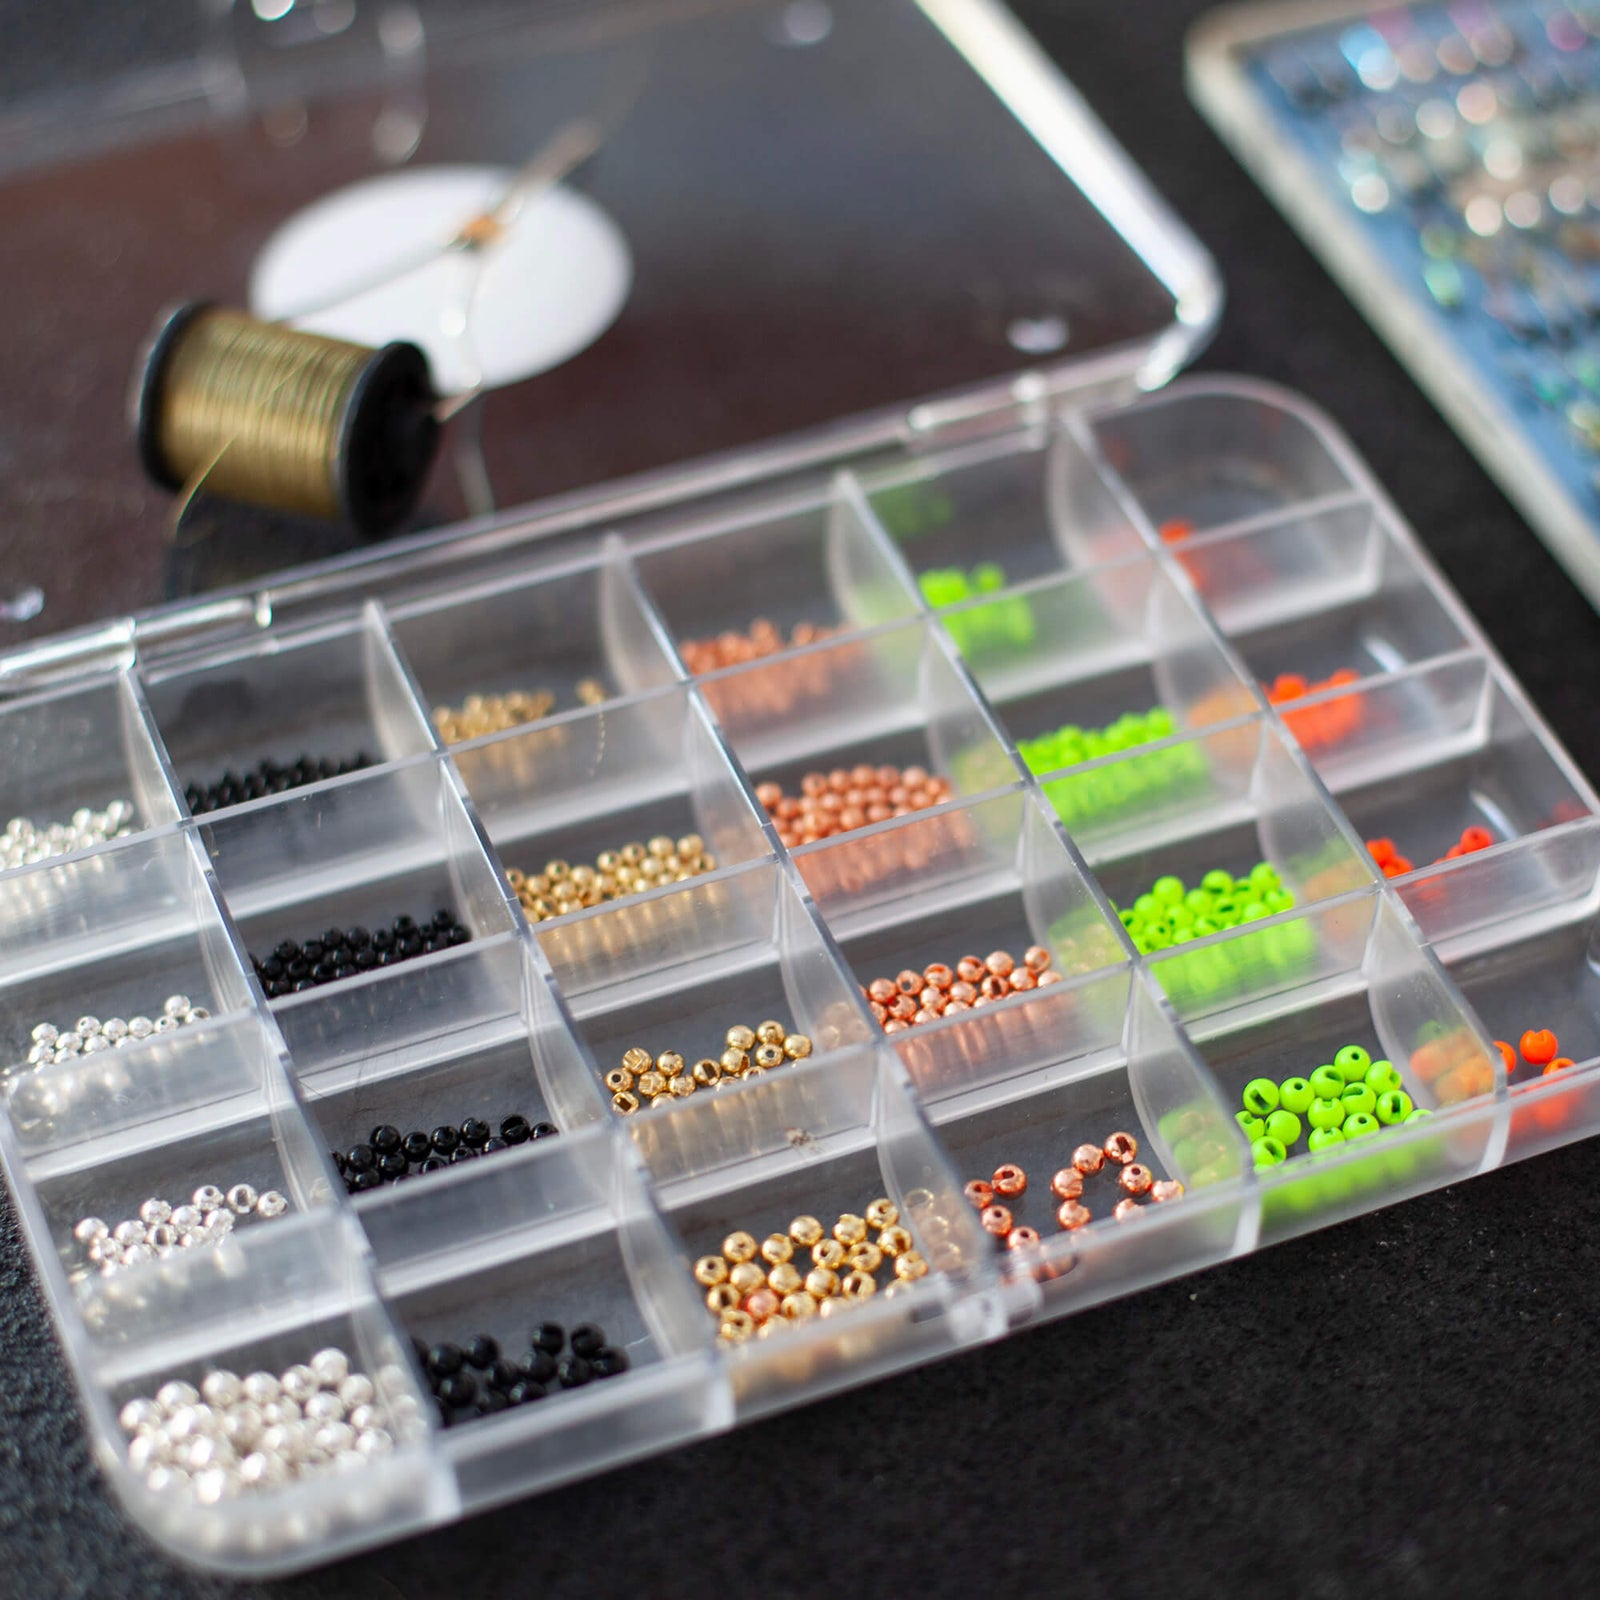
- Have an assortment of these flies in multiple sizes ranging from 1.5mm to 4mm tungsten beads. Observe and learn how these flies sink and drift differently in the current.
*Rubber worm and egg patterns are good to have in your box as well.
Landing Net:
My original net was on the small side. It was nice and compact, and light. Then I started euro nymphing and catching more fish. The longer euro nymph rod made netting the fish a bit trickier so I bought a very long net but my problems didn’t go away. The long composite net was very heavy and the extra length made it difficult to scoop the fish with an outreached arm. It’s like a little league player trying to swing a major league bat. *If you’re missing a lot of fish when trying to get them into your net, consider your net speed is too slow during the critical lift motion.
The other problem with long handle nets is that they are difficult to store and access. I haven’t found a good way to store my long net without the handle getting in the way of my fishing or hiking.
I like thin, lightweight aluminum frame nets with big hoops (20 or so inches). They cut through the water when netting, and the big hoop fits over my backpack. The net’s mesh basket needs to be soft rubber or rubber coated so as to not harm the fish.
Waders:
I have multiple pairs of waders from lightweight to heavyweight, expensive and cheap. If I could only have one pair, I’d buy heavier weight for more puncture resistance. Even on hot days the water is cool so I rarely over heat. You shouldn’t be trout fishing in water over 67 degrees anyway because fighting them in warm water is bad for the fish.
Buy waders with built in neoprene booties, not built in boots. You can start out with thin inexpensive waders but you’ll spend more time patching leaks.
Under my waders I wear thin breathable lycra, or Fleece in the winter. In extreme cold I wear down puffy pants.
*My first waders were too tight in the chest when I had to wear jackets in the winter. Padded knees in waders are very nice to have but not a necessity. Neither are extra pockets and zippers. Pass on waders with only one belt loop on the back. Two belt loops provide good net storage.
BOOTS:
The most important purchase you’ll make, in my opinion. The right boots will allow you better hiking to the water and safer wading when in the water. Yet there is no single boot that I can recommend no matter how much money you have to spend. Here’s why:
Rubber Sole Boots
Great on the trail but terrible in the water. There is no rubber in the world that is not slippery when they get wet.
Felt Sole Boots
Good traction on slimy wet rocks but terrible traction on sloped trails with loose gravel. Grassy slopes? You’re on your ass fast!
Also, felt soles absolutely can not be worn in the snow. Snow sticks to felt and builds up like a pair of 6” platform shoes. If you plan to fish in the snow you’ll need a pair of boots with rubber soles. Studded if ice is involved, and it usually is.
Studded sole boots
Boots with metal studs work well in various water/trail situations but metal studs don’t work well on smooth roundish type rocks. They also make a scraping noise on rocks in the water which trout can hear from far away. Studs are the least stealthy but sometimes needed to stay safe.
Stiff boots
They provide good ankle support but have less dexterity and poor surface contact on rock. Too stiff and they’re like walking with two casts on your feet.
Laces
Laces break and they come loose. Worst yet is when you can’t undo the lace knot when your fingers are cold after a day of winter fishing.
Boa Lace System
These work awesome!…until they don’t. I carry duct tape when the ratchet mechanism won’t hold, and a screwdriver to pry it loose when they won’t release. Boas are best for fair weather fishing. Extreme dirt, and muck and they could fail on you. Great for cold water fishing, but don’t forget to have that screwdriver waiting at the truck.
The best all around boot soles in the river I fish is felt with metal studs in the summer, and rubber soles with studs in the winter. My favorite boots right now are the Simms Headwater Boa. Their G series boots are too stiff for me.
*Don’t buy Korker boots with interchangeable soles. Great concept but the soles don’t stay on. I’ve lost many Korker soles and now I affix them with a few sheet metal screws.
Glasses:
Always polarized so you can see into the water. This helps spot fish and makes wading easier when you can see the rocks.
Packs:
Chest Pack
I prefer a chest pack for most of my fishing because it allows quick access to my fly box and tools.
Waist pack
Works great but I can’t wade in deep water without my pack filling with water.
Dry bag style waist packs are horrible for deep wading. They act like balloons when submerged and make you more buoyant. Not safe when this happens.
Vest
Vest are hot and don’t have large compartments that I need for my fly boxes, camera gear, drinks etc. They have a bunch of small pockets. They also look old and outdated.
-Sling Bags
great concept but my right shoulder always hurts when I use my sling bag too long.
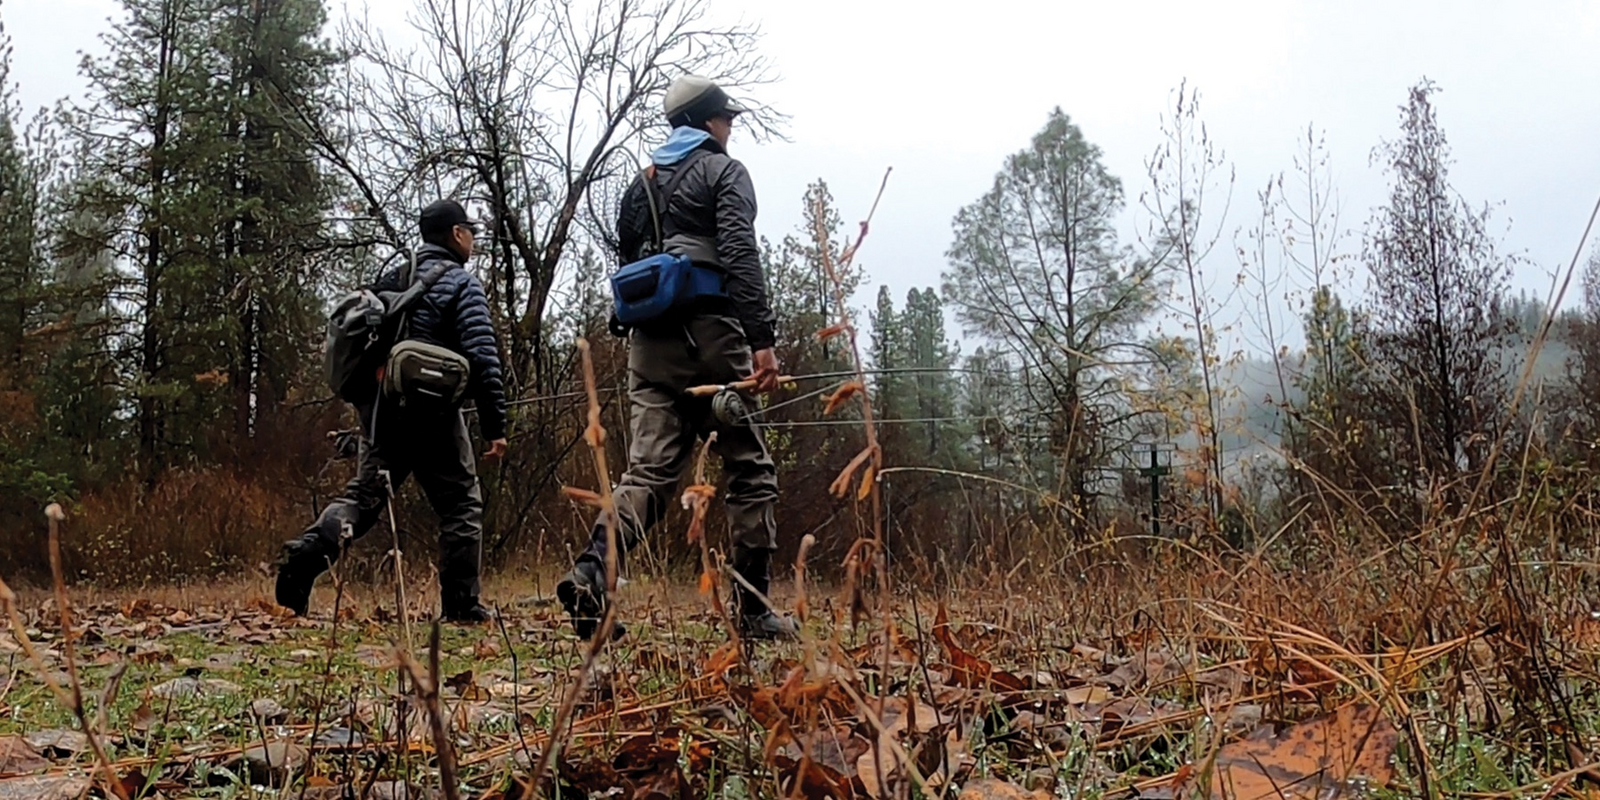
*My choice is a small chest pack to hold my fishing tackle, combined with a backpack or sling bag to hold the other stuff. I set the backpack down near the bank when I fish. But it all depends on how much gear and supplies I need to carry that day.
Wading Staff:
I use it more and more these days. It makes wading and hiking much easier and safer. The key here is to store it out of the way when fishing. Folding staffs are nice or you can use an old ski pole or a stick.
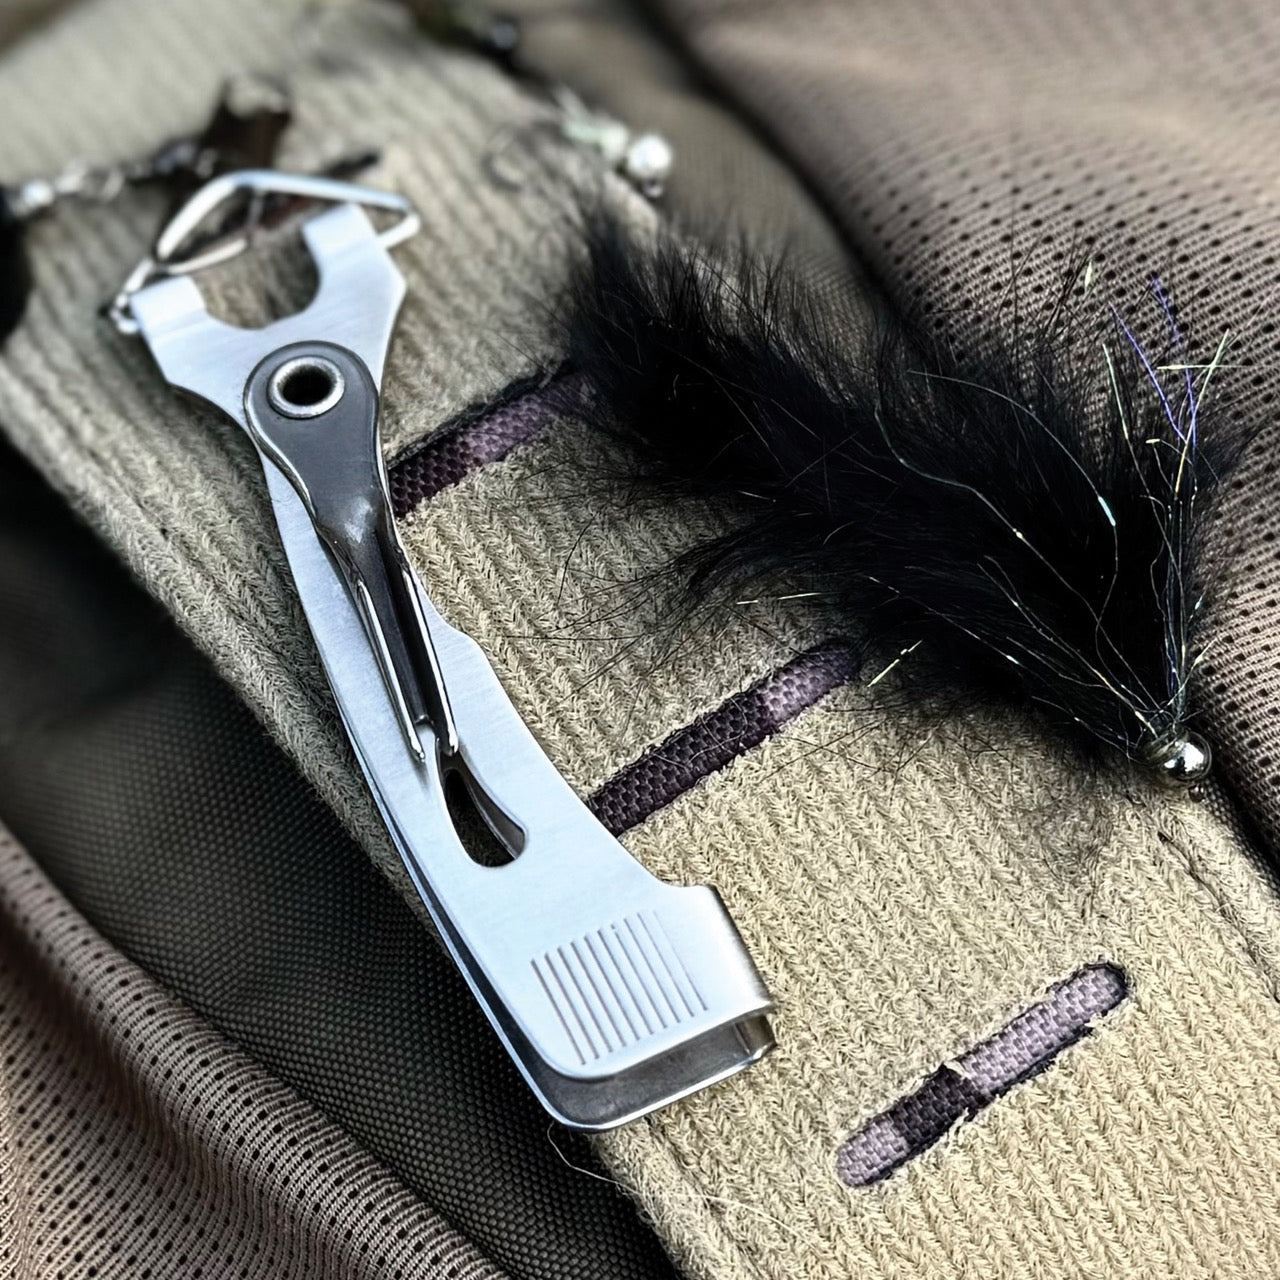
Tools:
- Nippers to cut tippet line
- Forceps to remove deep hooks and Split shot
- Thermometer to measure water temps
- Pocket knife for whatever
Lastly, my advice with regards to euro nymph gear is to keep it simple and keep it organized.
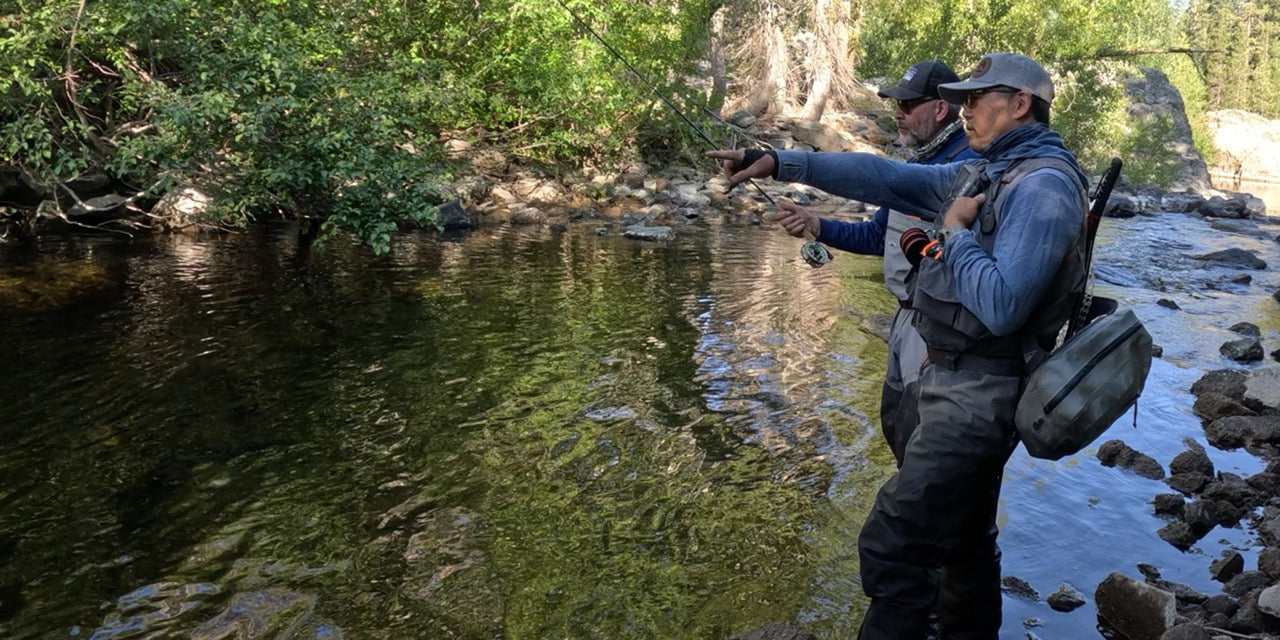
Euro nymphing is more physical than dry fly fishing because you’re going in after the fish rather than shooting line from a long/safe distance. Because of this you’ll want to keep things tidy, easy to access, light and simple. Wading skills, knot tying skills, netting skills etc. all become much more important because you’re often going into deeper, faster water. It’s why euro nymphing is so much more fun. It’s the added challenge and the added rewards!
By Jeff Sasaki


Leave a comment (all fields required)